
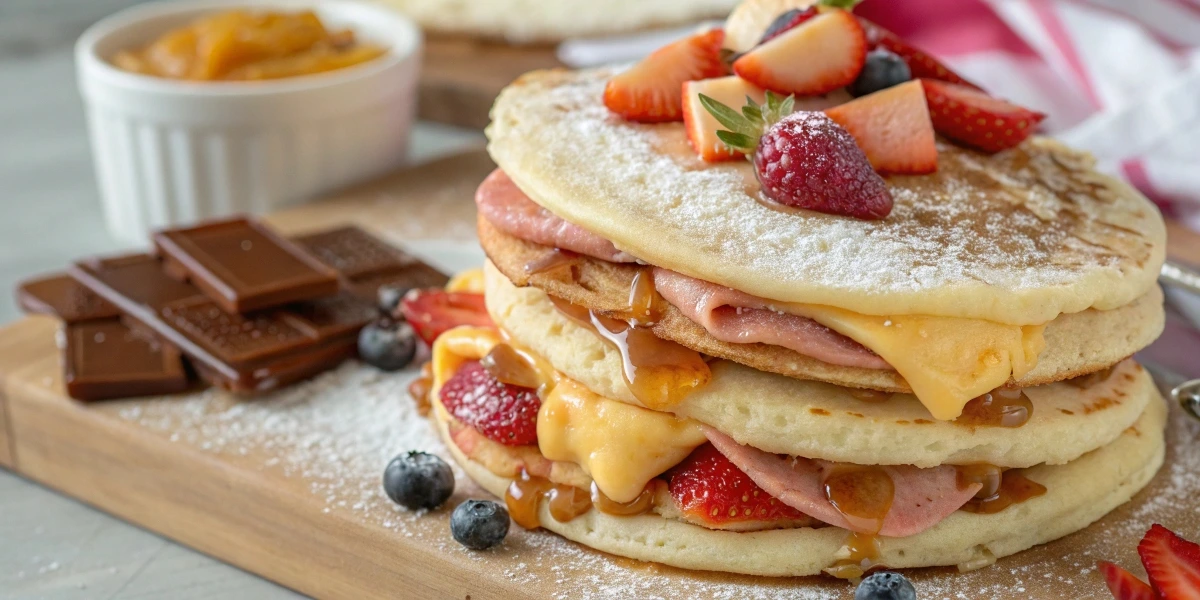
Do you think pancakes are only for breakfast? Think again! Panqueques are a delicious surprise waiting to happen. They’re not just regular pancakes—they’re softer, thinner, and super fun to fill or top with yummy things like dulce de leche, fruits, or even cheese and ham. But what really makes panqueques stand out from other pancake recipes? Let’s find out why this tasty treat is loved by kids and adults around the world.
Table of Contents
What Are Panqueques and Why Are They So Amazing?
Panqueques are a type of thin pancake that comes from Latin America, especially Argentina and Uruguay. They are a bit like French crêpes but often filled with sweet or savory goodies. The best part? They are super quick to make, and you only need a few simple ingredients.
These thin pancakes have a long and tasty history. In Argentina, panqueques are often a family favorite, especially when filled with dulce de leche, a sweet caramel-like spread that melts in your mouth. Unlike American-style pancakes, which are fluffy and stacked, panqueques are soft and flexible. This makes them perfect for rolling or folding around a delicious filling.
In many Latin homes, panqueques are a weekend tradition. Kids love them because they can pick their own fillings and get creative. Grown-ups love them because they’re fast, affordable, and super versatile. Want something sweet? Panqueques. Want something savory? Panqueques. Have leftover veggies or cheese? Wrap them in a panqueque!
They are also a favorite for parties, school lunches, or last-minute desserts. You can dress them up for a fancy dinner or keep them simple for a snack. Because they’re so easy to make and use basic ingredients, panqueques are also a great recipe to start with if you’re learning to cook.
Another reason why people love panqueques is that they work for many diets. You can make them gluten-free, dairy-free, or even vegan with a few small swaps. This makes them perfect for sharing with friends or family who have different food needs.
Let’s break it down:
- Time Needed: 30 minutes or less
- Skill Level: Easy
- Fun Factor: Super high!
- Versatility: Sweet, savory, and everything in between
- Family Friendly: Yes! Kids can help and even make their own panqueques
- Budget Friendly: Uses pantry staples
Essential Ingredients for Perfect Panqueques
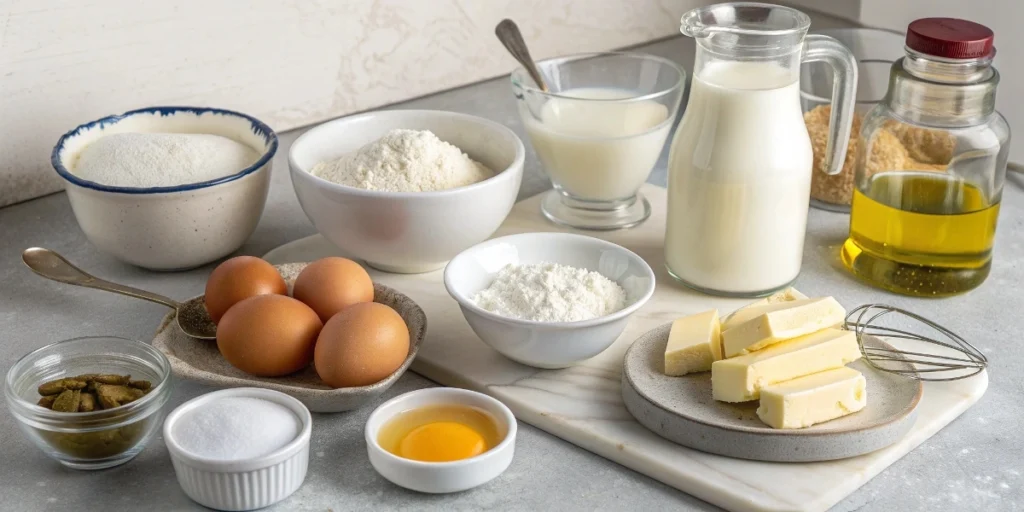
To make panqueques, you only need a few things you probably already have in your kitchen. Here’s what you’ll need and why:
Main Ingredients:
- Flour (1 cup): This gives the panqueques their shape.
- Milk (1 1/2 cups): Makes the batter smooth and helps everything mix well.
- Eggs (2): Helps hold everything together and makes the panqueques fluffy.
- Butter or Oil (2 tablespoons): Adds a nice taste and keeps the panqueques from sticking.
- Salt (a pinch): Just a little bit to bring out the flavor.
Optional Add-ins:
- Vanilla (for sweet panqueques)
- Sugar (1 tablespoon if you want them sweet)
Ingredient Swaps:
- No milk? Use almond, oat, or soy milk instead.
- Gluten-free? Use a gluten-free flour mix.
- No butter? Use oil or plant-based margarine.
👩🍳 Step-by-Step: How to Make Panqueques Recipe
Let’s make some panqueques! This recipe is fun to do with family or friends. Grab a mixing bowl and let’s go!
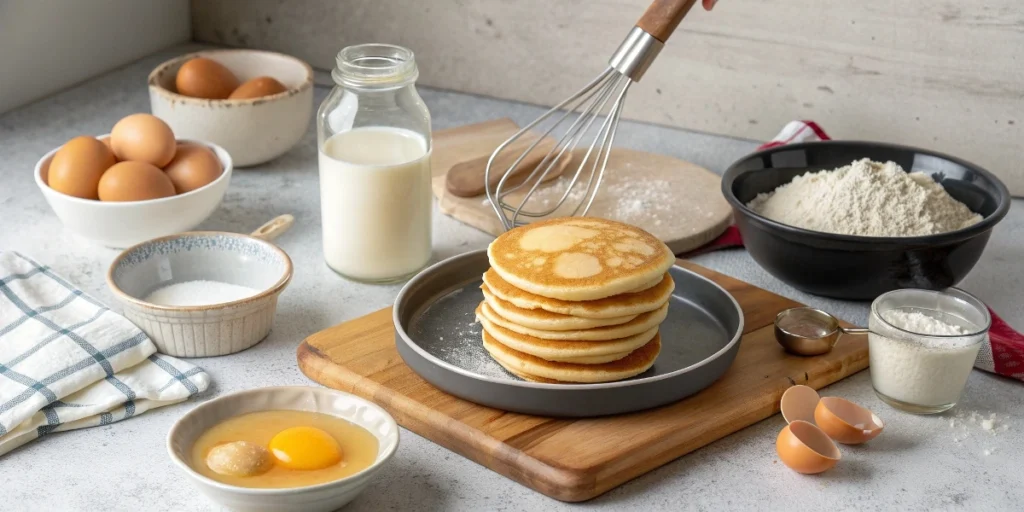
Step 1: Make the Batter
- In a big bowl, mix the flour and salt (and sugar if using).
- In another bowl, whisk the eggs and milk together until fully blended. This helps make a light, even batter.
- Slowly pour the wet mix into the dry mix while stirring. Use a whisk to avoid lumps.
- Add melted butter or oil and continue mixing until the batter is smooth and slightly runny.
Tip: Let the batter rest for 10–15 minutes. This gives the flour time to fully absorb the liquid, which makes the panqueques softer and easier to flip.
Step 2: Cook the Panqueques
- Heat a non-stick pan or skillet over medium heat. Make sure it’s hot before adding the batter.
- Add a small amount of butter or oil and swirl to coat the surface.
- Pour in about 1/4 cup of batter. Quickly tilt the pan in a circle so the batter spreads evenly into a thin layer.
- Cook for 1–2 minutes. Watch for the edges to turn golden and lift slightly from the pan.
- Use a wide spatula to gently flip the panqueque. Cook the other side for 30–60 seconds.
- Slide it onto a plate and repeat until all batter is used.
Tip: Keep cooked panqueques warm by covering them with a clean kitchen towel or placing them in a warm oven.
Extra Tip: If your batter feels too thick, add 1–2 tablespoons of milk. If too thin, add a bit more flour.
How to Fill and Fold Your Panqueques
Now that your panqueques are ready, it’s time to have some fun! You can fill them with all kinds of tasty things. Here’s how to build them:
Sweet Ideas:
- Dulce de leche (the classic!)
- Nutella and bananas
- Strawberries and whipped cream
- Honey and walnuts
- Jam and powdered sugar
Savory Ideas:
- Ham and cheese
- Spinach and ricotta
- Scrambled eggs and bacon
How to Fold:
- Roll them like a burrito
- Fold them into triangles
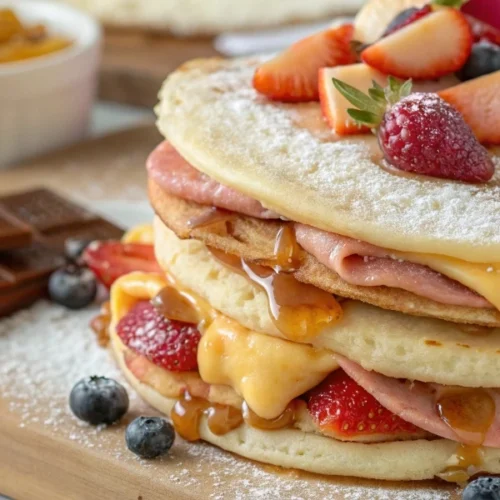
- Stack them like a cake
Presentation Tip: Dust with powdered sugar or drizzle with syrup for that “wow” look!
Storage and Make-Ahead Tips
Want to save some panqueques for later? Here’s how to keep them fresh and tasty:
Refrigerator Storage
- Let the cooked panqueques cool completely.
- Stack them with parchment paper between each one.
- Place them in an airtight container or wrap with plastic wrap.
- Store in the fridge for up to 3 days.
Freezer Storage
- Follow the same cooling and stacking steps.
- Wrap the entire stack tightly in plastic wrap and then in foil or place in a freezer bag.
- Label with the date and freeze for up to 2 months.
Tip: Don’t fill them before freezing. Fill fresh for the best taste and texture.
Reheating Instructions
- Microwave: Place 1–2 panqueques on a plate. Cover with a damp paper towel and microwave for 20–30 seconds.
- Stovetop: Heat a non-stick pan over low heat. Warm the panqueque for 30 seconds on each side.
- Oven: Wrap a stack in foil and heat at 300°F (150°C) for about 10 minutes.
Make-Ahead Batter
- You can make the batter the night before and store it in the fridge.
- Just give it a quick stir before using the next day.
- Use within 24 hours for best results.
Bonus Tip: If you’re hosting a brunch, cook the panqueques the day before and reheat in the oven before serving. Quick, easy, and stress-free!
Fun Recipe Variations for Panqueques
Want to try something new with your panqueques? Check out these creative twists:
1. Chocolate Panqueques
Add 2 tablespoons of cocoa powder and a little extra sugar to the batter.
2. Savory Herb Panqueques
Add chopped parsley, garlic powder, or grated cheese to the batter.
3. Mini Panqueques
Use a smaller pan and make tiny rolls—perfect for parties!
4. Panqueque Cake
Layer panqueques with sweet cream or fruit jam in between. So pretty!
Conclusion: Try These Tasty Panqueques Today!
Panqueques are one of those magical recipes that anyone can make and everyone will love. They’re soft, tasty, and full of flavor. Whether you want something sweet or something savory, panqueques can do it all. Best of all, they’re easy to make and super fun to share.
So, what are you waiting for? Grab your mixing bowl and whip up a batch today. Don’t forget to add your favorite fillings and share them with your family or friends. One bite, and you’ll see why panqueques are a favorite around the world!
❓ FAQs About Panqueques
1. Are panqueques healthy?
They can be! Use whole wheat flour, add fruit toppings, or use low-fat milk to make them healthier. You can even stuff them with veggies or lean protein.
2. What’s the difference between panqueques and pancakes?
Panqueques are thinner and softer—more like crepes. Pancakes are thicker and fluffy.
3. Can I make the batter ahead of time?
Yes! You can make the batter and keep it in the fridge for up to 24 hours.
4. Can I make panqueques without eggs?
You sure can! Try using a mashed banana or applesauce instead of eggs. Or use an egg replacer if you’re vegan.
5. What’s the best way to flip a panqueque?
Let it cook until the edges lift a little, then use a wide spatula. Flip gently and have fun!
6. Can kids help make panqueques?
Yes! Kids love whisking the batter, flipping with help, and choosing their own fillings.
Looking for beautiful serving pieces or kitchen accents to make your panqueque moments even more special? Check out my curated collection at Artisanat Marrakech on Chairish. From handcrafted plates to unique textiles, everything in my store is picked with love to help you add a warm, artisan touch to your table.
Classic Argentine Panqueques with Sweet & Savory Fillings
Ingredients
- 🛒 INGREDIENTS Serves 4
- Basic Panqueques Batter:
- 1 cup all-purpose flour
- 1½ cups milk any kind you like
- 2 large eggs
- 2 tablespoons melted butter plus extra for the pan
- 1 pinch of salt
- Optional: 1 tablespoon sugar for sweet panqueques, ½ tsp vanilla for extra flavor
- Optional Sweet Fillings:
- Dulce de leche
- Nutella
- Fresh berries
- Whipped cream
- Honey or jam
- Optional Savory Fillings:
- Ham and cheese
- Cooked spinach and ricotta
- Grilled veggies
Notes
👩🍳 STEP-BY-STEP INSTRUCTIONS
🥣 1. Make the Batter
- In a large bowl, whisk the flour and salt (add sugar if making sweet panqueques).
- In another bowl, beat the eggs and milk together until smooth.
- Slowly pour the wet mix into the dry mix, stirring gently.
- Add the melted butter and mix until smooth (no lumps!).
- Let the batter rest for 10 minutes (this helps make the panqueques nice and soft).
🔥 2. Cook the Panqueques
- Heat a non-stick skillet over medium heat.
- Add a tiny bit of butter to coat the pan.
- Pour in about ¼ cup of batter, swirling the pan to cover the bottom with a thin layer.
- Cook for 1–2 minutes until the edges lift up.
- Flip and cook for 30 seconds on the other side.
- Remove from pan and repeat with the rest of the batter.
🍓 3. Add Your Fillings
- Spread your favorite filling over the warm panqueque.
- Roll it up like a wrap or fold it like a triangle.
- Add toppings (like powdered sugar, syrup, or berries) for extra fun!
🧊 4. Storing Leftovers
- Fridge: Stack and store plain panqueques in an airtight container for up to 3 days.
- Freezer: Freeze with parchment between each one for up to 2 months.
- Reheat: Use a microwave or skillet until warm—then add fillings!