The Ultimate Guide to Cake Pops, A Sweet Treat for Every Occasion
CHomemade cake pops are the perfect sweet treat for any occasion. These bite-sized desserts have taken the baking world by storm, and it’s easy to see why. Whether you’re preparing for a birthday party, a wedding, or just a casual get-together, cake pops are a crowd favorite. Their portability and endless customization options make them a fun and creative dessert choice. In this guide, we’ll walk you through everything you need to know about homemade cake pops — from the history of this popular treat to the best tools for making them, along with tips and troubleshooting advice to ensure your cake pops turn out perfect every time.
By the end of this guide, you’ll be equipped with the knowledge and confidence to make homemade cake pops that will impress everyone who tastes them. Whether you’re a seasoned baker or a beginner, this step-by-step approach is designed for all skill levels.
Table of Contents
What Are Cake Pops?
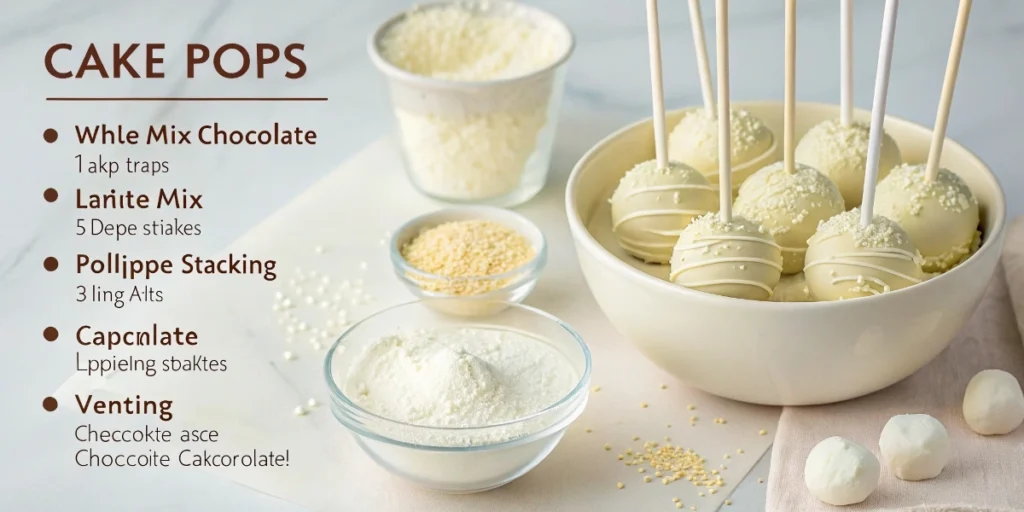
Cake pops are essentially small balls of cake and frosting that are shaped, placed on a stick, and coated with a candy shell. They combine the best of both worlds: the soft, moist texture of cake and the creamy goodness of frosting. Often decorated with sprinkles, edible glitter, or fondant designs, cake pops can be made to suit almost any flavor or theme. They’re easy to serve, fun to eat, and perfect for any occasion.
The Appeal of Cake Pops
Why have cake pops become such a popular treat? Here are a few reasons why:
- Convenient & Mess-Free: Cake pops are portable, making them ideal for on-the-go snacking. Plus, they come on sticks, so no plates or utensils are needed.
- Perfect for Parties: Whether it’s a birthday, wedding, or holiday celebration, cake pops can be easily customized to match any theme or color scheme.
- Small, but Satisfying: A single cake pop delivers a burst of sweetness, but its size ensures it doesn’t feel overly indulgent.
- Creative & Customizable: You can make cake pops in any flavor, color, or design. The possibilities are truly endless.
The History of Homemade Cake Pops
Homemade cake pops have become a popular treat in the world of baking, though their journey began with older traditions of cake balls. These were created by rolling crumbled cake and frosting into small balls and coating them in chocolate or candy melts. The modern version of homemade cake pops, however, owes much of its popularity to Angie Dudley, better known as Bakerella.
Angie introduced her creative twist on homemade cake pops through her blog, capturing the attention of both amateur and professional bakers. Her cookbook, Cake Pops: Tips, Tricks, and Recipes for More Than 40 Irresistible Mini Treats, further cemented the homemade cake pop as a beloved dessert. Today, you’ll find these bite-sized treats at bakeries, cafes, weddings, corporate events, and even casual get-togethers.
Essential Ingredients and Tools for Homemade Cake Pops

Ingredients
To make your own homemade cake pops, you’ll need a few basic ingredients:
- Cake Mix or Homemade Cake: Use a store-bought cake mix or bake from scratch. Chocolate, vanilla, red velvet, or lemon are classic flavors, but don’t hesitate to experiment with flavors like carrot cake or coconut.
- Frosting: Frosting binds the cake crumbs together. Store-bought frosting works fine, but homemade frosting provides more control over texture. Choose a frosting that’s thick but not too stiff.
- Candy Coating or Chocolate: For the outer coating, you can use candy melts or chocolate chips. Candy melts come in various colors, making them especially popular for decorating.
- Decorations: Add extra flair with sprinkles, edible glitter, or fondant flowers to make your homemade cake pops not only delicious but visually stunning.
Tools
Here’s a list of tools you’ll need to make perfect homemade cake pops:
- Lollipop Sticks: These are essential for creating the “pop” effect. Most craft and baking stores sell them.
- Styrofoam Block or Cake Pop Stand: You’ll need something to hold the cake pops upright while the coating sets. A Styrofoam block or cake pop stand works great.
- Microwave-Safe Bowls: Use these to melt your candy coating or chocolate without burning it.
- Parchment or Wax Paper: Line trays or surfaces with parchment or wax paper to keep your cake pops from sticking as they dry.
Step-by-Step Guide to Making Homemade Cake Pops
Step 1: Bake the Cake
Start by baking your cake. Whether using a boxed mix or a homemade recipe, ensure the cake cools completely before crumbling it. This prevents the cake from becoming too mushy when mixed with frosting.
Step 2: Crumble the Cake
Once the cake has cooled, crumble it into small, fine crumbs. The texture should resemble sand, not dust. If you use a food processor, you can achieve a uniform crumb size.
Step 3: Add Frosting
Add frosting a little at a time. Mix it into the crumbs until it binds together but isn’t overly wet. The goal is for the mixture to hold together when pressed but not be too sticky. Buttercream or cream cheese frosting is perfect for this.
Step 4: Shape the Cake Balls
Roll the mixture into small balls, about 1 inch in diameter. To make the sizing even, consider using a small ice cream scoop.
Step 5: Insert the Sticks
Dip the tip of each lollipop stick into melted candy coating or chocolate, then insert it into the center of each cake ball. This step ensures the stick stays securely in place.
Step 6: Chill the Cake Pops
Refrigerate the cake pops for 15–30 minutes to help them firm up before dipping in the coating.
Step 7: Dip in Coating
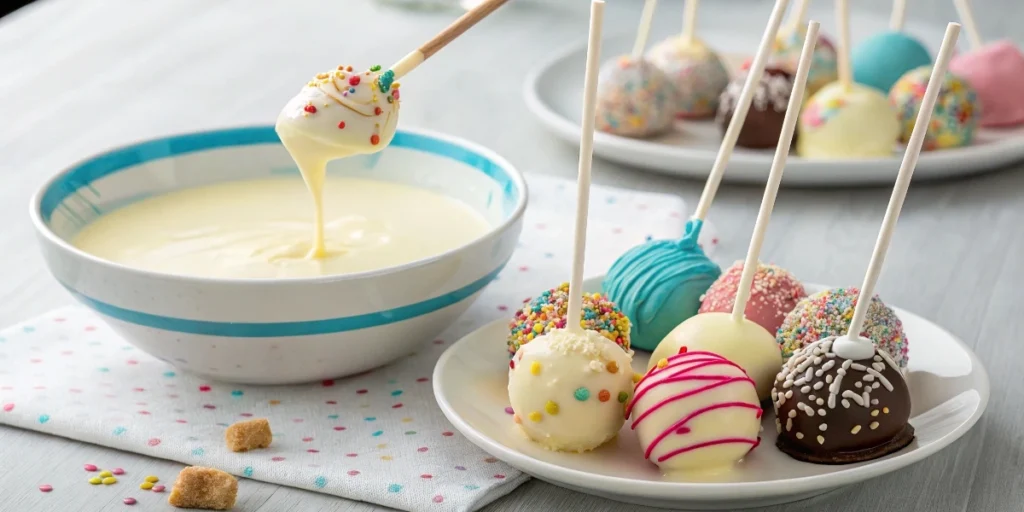
Once chilled, melt your candy melts or chocolate in the microwave, stirring every 30 seconds. Dip each cake pop into the coating, making sure it’s fully covered. Tap off any excess before setting it aside.
Step 8: Decorate the Cake Pops
While the coating is still wet, decorate your cake pops with sprinkles, edible glitter, or other fun toppings. This is where your creativity can shine.
Step 9: Let the Cake Pops Set
Place the decorated cake pops in a Styrofoam block or cake pop stand for 15–30 minutes until the coating hardens.

Troubleshooting Common Cake Pop Issues
Bakers occasionally run into problems when making cake pops. Here are some common issues and solutions:
1. Cracked Coating
Cracking can occur if the cake pops are too cold or the candy coating is too hot. To avoid this, let the coating cool slightly before dipping and ensure your cake pops are at room temperature.
2. Dipping Issues
If the candy coating is too thick, it may not coat the cake pop evenly. To fix this, add a teaspoon of vegetable oil to thin out the coating.
3. Sticking to Styrofoam
If your cake pops stick to the Styrofoam block, line the block with parchment paper. Alternatively, dip the sticks in coating before inserting them into the cake balls, which helps keep them secure.
Creative Variations on Cake Pops
You can experiment with endless variations of homemade cake pops. Here are a few ideas to inspire your creativity:
Cake Pop Flavors
Don’t hesitate to try different cake flavors. Almond, lemon, or hazelnut extracts can elevate the flavor of your cake mix for a unique twist.
Seasonal Variations
Seasonal flavors are a fun way to celebrate holidays. Consider red velvet cake pops for Valentine’s Day, pumpkin spice pops for Halloween, or peppermint cake pops for Christmas.
Themed Cake Pops
Create themed cake pops for parties. Match the colors or decorations to the theme, whether it’s a sports team, favorite characters, or a beach theme.
Storing and Shipping Cake Pops
Homemade cake pops can be stored at room temperature for up to a week in an airtight container. If shipping, carefully pack them in a sturdy box with padding to prevent breakage.
Cake Pops for Special Occasions
Homemade cake pops are perfect for any special occasion, from birthdays and weddings to holidays and baby showers. You can customize the flavor and design to match the event, making them a memorable treat for any celebration.
Conclusion
Homemade cake pops are a fun, creative, and delicious way to enjoy cake in a bite-sized form. With endless possibilities for flavor combinations, decorations, and themes, they’re perfect for any event or occasion. Whether you make them yourself or purchase them from a bakery, these delightful treats will always bring joy to your celebration!
By following the steps, troubleshooting tips, and creative suggestions in this guide, you’ll be able to make cake pops that are not only delicious but also visually stunning. So get ready to impress your guests and indulge in these delightful little treats.

