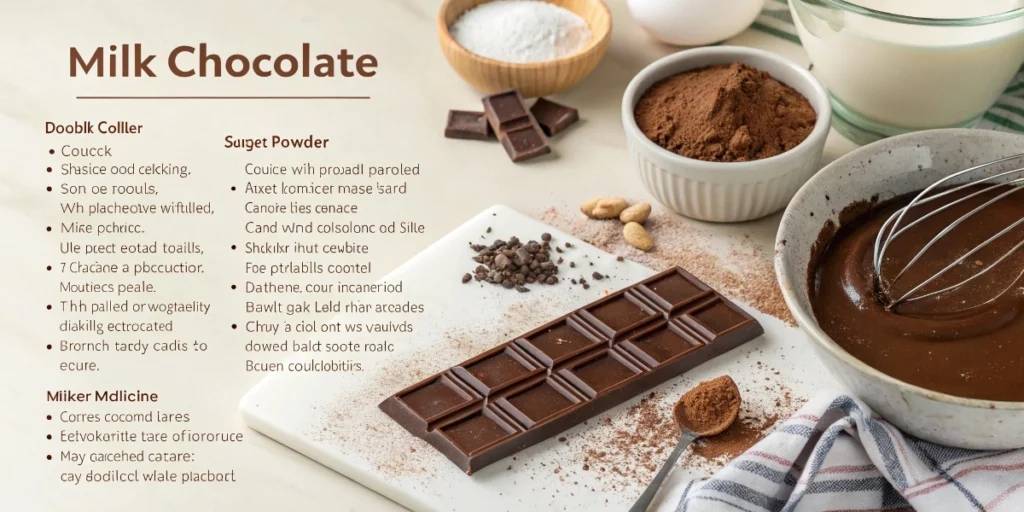
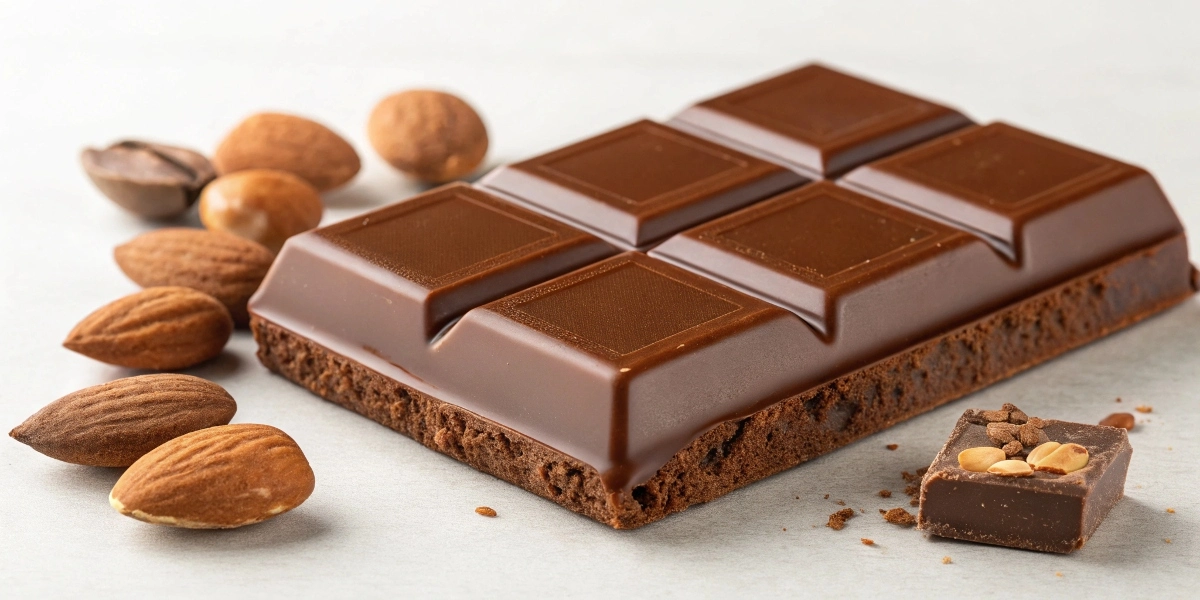
Have you ever dreamed of making your own creamy, velvety milk chocolate at home? What if you could create that sweet, silky chocolate taste from scratch with just a few simple ingredients? Homemade milk chocolate is easier to make than you might think, and it opens up a world of creative possibilities. Whether you’re a chocolate lover, a beginner cook, or someone looking for a fun kitchen project, this milk chocolate recipe will show you how to make the perfect bar of homemade chocolate right in your kitchen.
In this detailed guide, you’ll not only learn how to make milk chocolate from scratch, but we’ll also dive into some tips, tricks, and variations that will take your chocolate-making skills to the next level. So grab your apron and let’s start creating a sweet treat that’s perfect for you, your family, and friends.
Table of Contents
Why Make Homemade Milk Chocolate?
Milk chocolate is one of the most loved treats worldwide. Whether you’re munching on a chocolate bar, using it in recipes, or melting it for your favorite dessert, milk chocolate brings joy to many. But have you ever wondered why homemade milk chocolate tastes so much better than store-bought? When you make milk chocolate from scratch, you have full control over the ingredients, allowing you to customize flavors and textures to suit your preferences.
Making milk chocolate at home is not only fun but rewarding. Plus, homemade chocolate is much fresher than the chocolate you buy in stores, giving it a rich, intense flavor that’s sure to satisfy your chocolate cravings. This milk chocolate recipe is perfect for gifting, celebrations, or just a sweet indulgence for yourself!
Overview of the Milk Chocolate Recipe
Making milk chocolate from scratch might sound like a challenge, but it’s much easier than you might think! This recipe involves just a few basic ingredients that you probably already have in your kitchen. The best part is, it requires very little hands-on time and is beginner-friendly.
- Preparation Time: 15 minutes of active prep time.
- Cooling Time: 30 minutes to 1 hour (depending on the size of your molds).
- Difficulty Level: Beginner-friendly. This recipe is simple to follow and doesn’t require any special skills.
Whether you’re an experienced cook or just getting started, this milk chocolate recipe will guide you every step of the way. All you need is a little patience, a few ingredients, and a desire to indulge in delicious homemade chocolate!
Essential Ingredients for Making Milk Chocolate

Let’s take a closer look at the essential ingredients needed for this milk chocolate recipe and why they are so important in creating the perfect chocolate bar. Each ingredient plays a crucial role in achieving that smooth, creamy texture and rich chocolate flavor that everyone loves.
1. Cocoa Powder: The Foundation of Chocolate
Cocoa powder is the key ingredient that gives chocolate its signature flavor. Cocoa is made from roasted cacao beans and has a rich, deep taste that forms the foundation of your milk chocolate. There are different types of cocoa powder available, but for this recipe, you’ll want to use unsweetened cocoa powder for the best results. Unsweetened cocoa powder provides a strong chocolate flavor that balances well with the sweetness of the milk and sugar.
2. Milk Powder: Creaminess and Sweetness
Milk powder is what makes milk chocolate so smooth and creamy. It’s essentially dehydrated milk that dissolves easily in the chocolate mixture, giving the chocolate that characteristic “milk chocolate” flavor. Milk powder is crucial for achieving that smooth, velvety texture in your homemade chocolate. You can use whole milk powder for the richest flavor or opt for skim milk powder for a lighter version.
If you’re following a dairy-free or vegan diet, you can substitute milk powder with a plant-based milk powder, such as coconut milk powder or almond milk powder.
3. Cocoa Butter: The Secret to Smooth Chocolate
Cocoa butter is the fat extracted from cacao beans. It’s responsible for giving chocolate its smooth, melt-in-your-mouth texture. Without cocoa butter, the chocolate would be grainy and dry. It also plays a role in the glossy finish that you see on store-bought chocolate bars. For this recipe, cocoa butter is essential in creating a creamy, rich milk chocolate bar.
4. Sweetener (Sugar or Honey): Balancing the Bitterness
The sweetener is what helps balance the natural bitterness of the cocoa powder. You can use traditional granulated sugar for a classic milk chocolate taste, or you can experiment with alternatives like honey, maple syrup, or agave syrup for a different flavor profile. Honey will add a floral sweetness, while maple syrup provides a slight caramel taste. The sweetener you choose will affect the overall flavor, so feel free to play around with different options.
5. Vanilla Extract: Enhancing the Flavor
A splash of vanilla extract adds a subtle warmth and complexity to the flavor of your chocolate. While it’s not essential, it brings out the sweetness and enhances the overall taste. Vanilla is a classic addition to milk chocolate, and it helps create a more rounded, well-balanced flavor.
6. A Pinch of Salt: Balancing the Sweetness
Salt is a secret ingredient in many chocolate recipes. Just a small pinch can help balance the sweetness and intensify the chocolate’s flavor. The salt brings out the deep cocoa notes, making the chocolate taste richer and more complex. Don’t skip this step!
Step-by-Step Instructions for Making Milk Chocolate Recipe

Now that you know what goes into your homemade milk chocolate, let’s dive into the step-by-step instructions. Follow these simple steps to create your own rich, creamy milk chocolate.
Step 1: Melt the Cocoa Butter
Start by gently melting the cocoa butter. You can do this by using a double boiler (a heatproof bowl placed over simmering water) or by microwaving it in short bursts of 20-30 seconds. Stir frequently to ensure that the cocoa butter melts evenly and doesn’t overheat. Cocoa butter can burn if it gets too hot, so keep a close eye on it.
Step 2: Mix the Dry Ingredients
While the cocoa butter is melting, combine the cocoa powder, milk powder, sugar (or honey), and a pinch of salt in a separate bowl. Whisk the dry ingredients together until they are evenly combined.
Step 3: Combine Wet and Dry Ingredients
Once the cocoa butter is fully melted, gradually add the dry ingredients into the cocoa butter. Stir constantly with a wooden spoon or silicone spatula to ensure everything is fully combined. The mixture should be smooth and lump-free. This is the base of your chocolate!
Step 4: Add Vanilla Extract
After the mixture is smooth, stir in the vanilla extract. This will add a hint of vanilla flavor that enhances the chocolate’s taste.
Step 5: Pour into Molds
Once the chocolate mixture is ready, pour it into chocolate molds or onto a parchment-lined baking sheet. Tap the molds gently to remove any air bubbles. You can use molds in fun shapes or simply pour the mixture into a rectangular pan for classic chocolate bars.
Step 6: Let it Set
Allow the chocolate to cool and harden. First, let it set at room temperature for 15-20 minutes. Then, transfer it to the fridge for 30-45 minutes, depending on the size of your molds. Once it’s fully set, you’ll have perfectly smooth milk chocolate!
Tips for Perfect Milk Chocolate Every Time
Here are some additional tips to ensure your milk chocolate turns out perfect every time:
- Don’t Overheat the Cocoa Butter: Cocoa butter should be melted gently to avoid burning it, which can affect the flavor.
- Stir Consistently: Stirring the mixture well ensures that all the ingredients blend evenly, giving the chocolate its smooth texture.
- Cool Slowly: Allow the chocolate to cool at room temperature before refrigerating it to prevent it from seizing up or becoming too grainy.
- Use High-Quality Ingredients: The quality of your ingredients directly affects the final flavor of your chocolate. Use the best cocoa powder and cocoa butter you can find for the best results.
Creative Variations for Milk Chocolate Recipe
Once you’ve mastered the basics of making milk chocolate, it’s time to get creative! Here are some fun and delicious variations you can try:
- Peanut Butter Milk Chocolate: Swirl in some creamy peanut butter into your chocolate mixture for a delicious, nutty twist.
- Mint Milk Chocolate: Add a few drops of peppermint extract to your chocolate for a refreshing minty flavor.
- Crunchy Almonds or Hazelnuts: Add chopped almonds or hazelnuts into the melted chocolate for added crunch and flavor.
- Spicy Chocolate: For those who like a little heat, try adding a pinch of chili powder or cayenne pepper to your chocolate for a spicy kick.
How to Store Homemade Milk Chocolate Recipe
To keep your milk chocolate fresh, store it in an airtight container at room temperature, away from direct sunlight or heat. Homemade chocolate should be eaten within 1 to 2 weeks for the best flavor, though it will last longer if stored properly. If you need to store it longer, you can freeze it in an airtight container for up to 3 months.
Conclusion: Why You Should Try This Milk Chocolate Recipe
Making your own milk chocolate is not only an enjoyable activity but also a rewarding one. The rich, creamy taste of homemade chocolate is unlike anything you’ll find in the store, and with this easy recipe, you can create your own personalized chocolate bars. Plus, you can experiment with different flavors and textures to create the perfect chocolate treat for any occasion.
So, whether you’re a chocolate aficionado or just looking for a fun kitchen project, this homemade milk chocolate recipe is sure to satisfy your sweet tooth and give you the satisfaction of creating something truly delicious from scratch.
FAQs About Milk Chocolate Recipe
1. Can I make this recipe without cocoa butter? While cocoa butter is essential for creating smooth, creamy chocolate, you can use coconut oil as an alternative. However, the flavor and texture may differ slightly.
2. Can I make vegan milk chocolate? Yes! Simply substitute the milk powder with a plant-based milk powder and use dairy-free cocoa butter. You can also substitute sugar with maple syrup or agave for a vegan-friendly sweetener.
3. How do I prevent my chocolate from blooming? To prevent the chocolate from blooming (the white streaks that appear on the surface), store it in a cool, dry place away from temperature fluctuations.
4. Can I use different sweeteners? Yes! You can use honey, maple syrup, agave syrup, or even stevia to sweeten your chocolate. Keep in mind that different sweeteners will slightly alter the flavor.
5. Can I make chocolate without molds? Yes! If you don’t have chocolate molds, you can simply pour the mixture onto a lined baking sheet, spread it out evenly, and break it into pieces once it’s set.
If you’re looking to add some stylish touches to your home while enjoying your homemade milk chocolate, why not explore some unique and artisan-crafted furniture? At Artisan at Marrakech, you’ll find a stunning collection of handcrafted pieces that blend traditional Moroccan artistry with contemporary design. Whether you’re decorating a cozy kitchen or creating the perfect chocolate-tasting nook, these beautiful items will elevate your space with authenticity and charm. Check out their collection today and find the perfect piece to complement your love for fine chocolate and fine design.

