Introduction:
What Happens When Zesty Lemon Meets Crunchy Peanuts?
Imagine a dessert that’s tangy, creamy, crunchy, and totally unforgettable. Sounds dreamy, right? That’s exactly what you get with this Lemon and Peanut Tart with Vanilla Mousse ! If you’ve ever wondered how to turn simple ingredients into a show-stopping treat, this recipe is your answer. Let’s dive into this flavor adventure.
Have you ever craved a dessert that balances bold flavors and textures in every bite? This tart does just that—and more. It’s a symphony of citrus brightness, nutty depth, and cloud-like sweetness that’ll make your taste buds dance. Whether you’re a seasoned baker or a kitchen newbie, this recipe is your ticket to dessert stardom.
Table of Contents
Why This Lemon and Peanut Tart Stands Out
This dessert isn’t just another tart—it’s a flavor explosion . The zesty lemon cuts through the rich peanut butter base, while the fluffy vanilla mousse adds a cloud-like finish. Best part? It’s ready in under 2 hours (with only 30 minutes of active work!). Perfect for beginners, it’s a 3/5 difficulty level —easy enough for a weeknight but fancy enough for a party.
The Secret to Its Magic
The magic lies in the contrast:
- Tangy vs. Sweet : Lemon’s sharpness balances the peanut butter’s richness.
- Crunchy vs. Creamy : The nutty crust and velvety mousse create a textural masterpiece.
- Simple vs. Sophisticated : Effortless ingredients transform into a gourmet dessert.
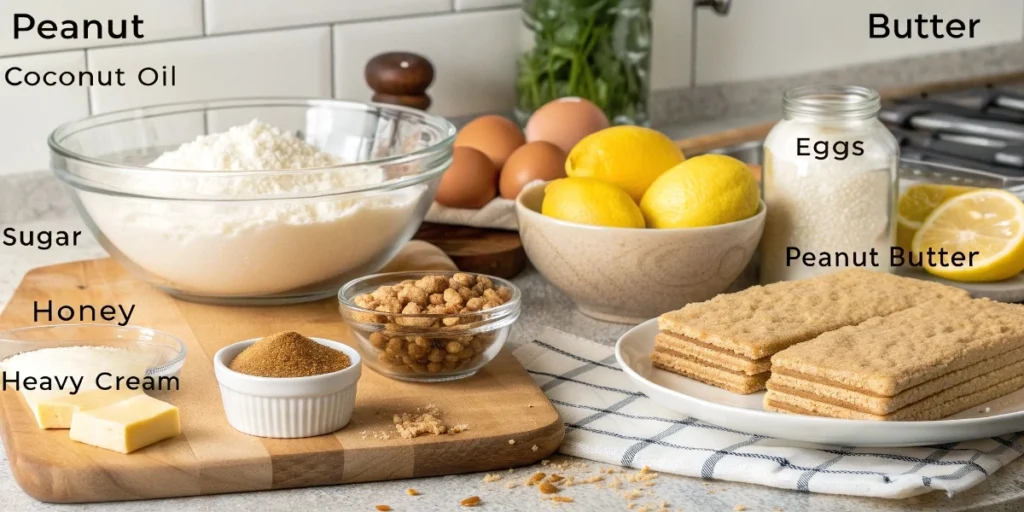
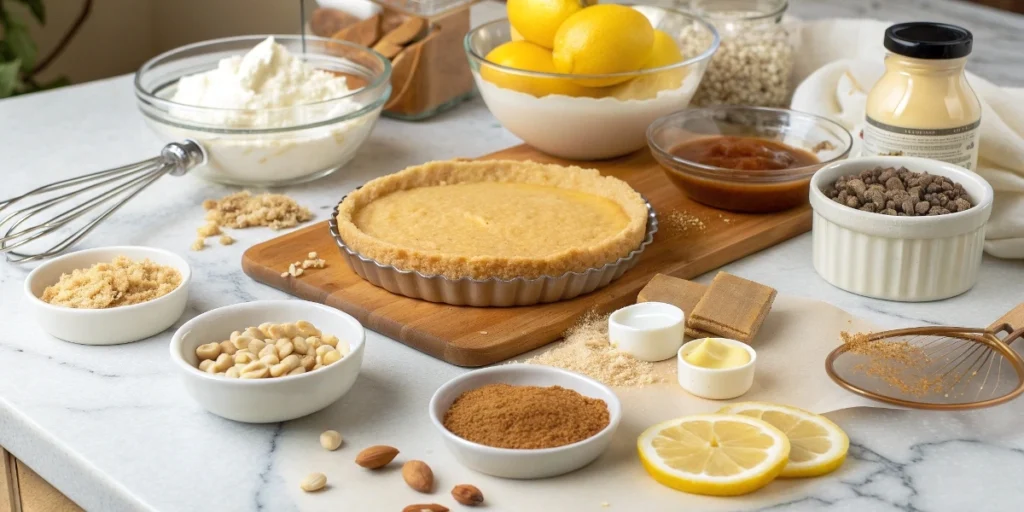
Essential Ingredients: The Dream Team
Here’s what makes this recipe magic:

1. Tart Crust
- Crushed peanuts + graham crackers : The base! Peanuts add crunch, while graham crackers keep it sweet and crumbly.
- Butter : Binds everything together. Vegan? Use coconut oil.
Why It Works : Peanuts provide a savory undertone, while graham crackers add nostalgia. The butter ensures a crisp, golden crust.
2. Lemon Filling
- Fresh lemon juice and zest : The star! Use Meyer lemons for a sweeter twist.
- Eggs and sugar : Create a silky custard. Sub maple syrup for sugar if preferred.
Pro Tip : Always zest your lemons before juicing them—it’s easier and less messy.
3. Peanut Layer
- Peanut butter : Go for natural, unsalted for control over sweetness.
- Honey or agave : Adds sticky sweetness.
Health Boost : Peanut butter is packed with protein and heart-healthy fats.
4. Vanilla Mousse
- Heavy cream + vanilla extract : Whipped into clouds. Use Greek yogurt for a protein boost.
Texture Trick : Chill your mixing bowl beforehand—it helps the cream whip faster.
Why These Ingredients?
Peanuts provide protein and healthy fats, lemon adds vitamin C, and the mousse keeps it light. It’s a dessert that loves you back.

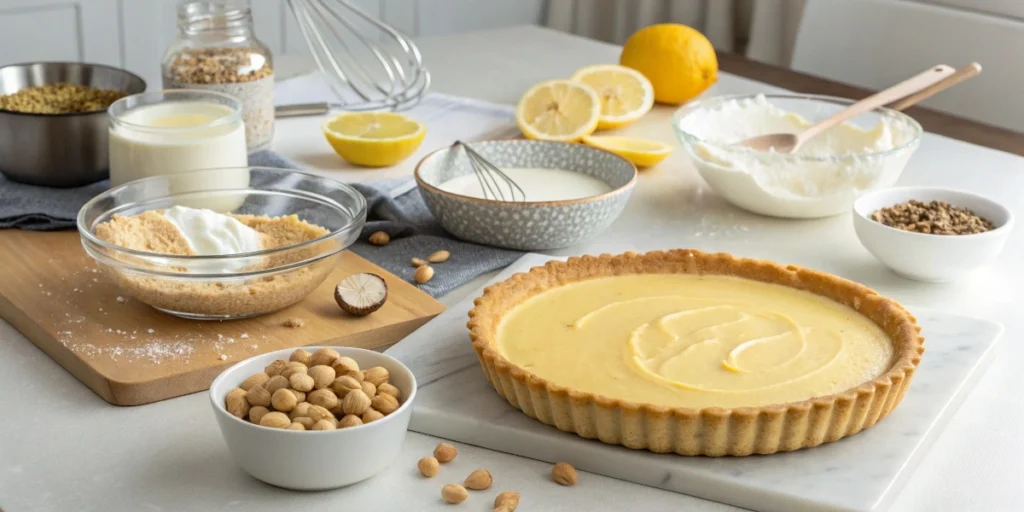
Step-by-Step: Let’s Get Baking
1. Make the Crust (15 mins)
- Crush the base : Use a food processor or ziplock bag + rolling pin for the peanuts and graham crackers.
- Mix with butter : Stir until it resembles wet sand.
- Press into pan : Use a flat-bottomed glass to compact the crust evenly.
- Bake : 10 minutes at 350°F (175°C). Let cool completely.
Common Mistakes to Avoid :
- Over-baking the crust (it’ll harden as it cools).
- Not pressing the crust firmly enough (it’ll crumble when sliced).
2. Lemon Filling (10 mins)
- Whisk ingredients : Combine eggs, sugar, lemon juice, and zest until smooth.
- Strain the mixture : This removes any lumps for a silky texture.
- Bake gently : 15-20 mins at 325°F (160°C) until just set.
Pro Tip : If the edges brown too quickly, cover them with foil.
3. Peanut Layer (5 mins)

- Mix peanut butter + honey : Microwave for 10 seconds if too thick.
- Spread evenly : Use an offset spatula for a smooth layer.
Flavor Hack : Add a pinch of sea salt for a sweet-salty kick.
4. Vanilla Mousse (10 mins)
- Whip cream : Beat until stiff peaks form. Fold in vanilla and sugar.
- Chill : Let it set in the fridge for 30 mins before assembling.
Alternative : Swap heavy cream with coconut cream for a dairy-free option.
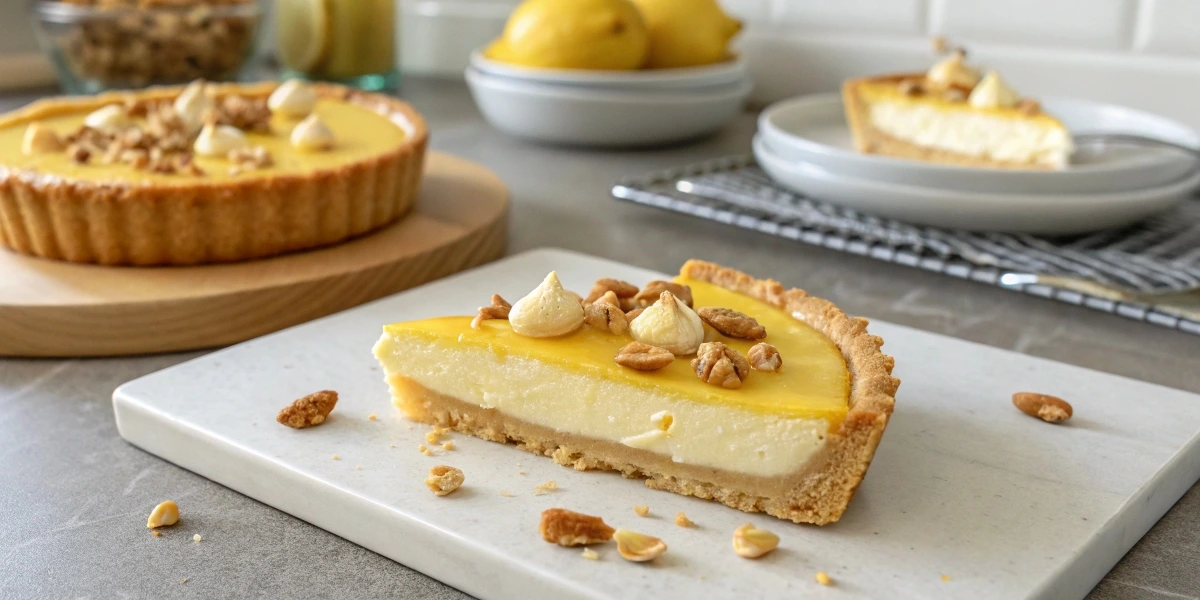
Assembly: Layer Like a Pro
- Base : Start with the cooled crust.
- Lemon : Add filling once the crust is ready.
- Peanut Butter : Spread evenly—don’t skip the edges!
- Mousse : Use a piping bag for swirls. No piping bag? A ziplock with a corner snipped works!
Presentation Tips
- Garnish : Top with lemon zest, chopped peanuts, or edible flowers.
- Serve chilled : Dust with powdered sugar before serving.
- Portion control : Use a sharp knife dipped in hot water for clean slices.
Storage & Reheating: Keep It Fresh
- Fridge : Store in an airtight container for up to 3 days.
- Freeze : Wrap slices in foil for 1 month. Thaw in the fridge.
- No Reheating Needed : Enjoy chilled for best texture.
Pro Tip : Place parchment paper between slices when freezing to prevent sticking.
Recipe Variations: Get Creative
Dietary Swaps
- Gluten-Free : Use gluten-free graham crackers or almond flour.
- Vegan : Substitute butter with coconut oil, eggs with flax eggs, and cream with coconut cream.
- Low-Sugar : Use stevia or monk fruit sweetener.
Flavor Twists
- Chocolate Peanut Butter : Add 2 tbsp cocoa powder to the crust.
- Citrus Medley : Swap lemon for lime or orange.
- Spiced Version : Add cinnamon or cardamom to the crust.
Presentation Ideas
- Mini Tarts : Use muffin tins for individual servings.
- Layered Parfait : Crush the tart and layer with mousse in glasses.
Nutritional Benefits: A Dessert That Loves You Back
This tart isn’t just delicious—it’s good for you
- Peanuts : High in protein, fiber, and antioxidants.
- Lemon : Boosts immunity with vitamin C.
- Vanilla Mousse : Light and low-calorie compared to traditional frosting.
Calorie Breakdown (per slice) : ~300 calories, 8g protein, 15g fat (mostly healthy fats), 35g carbs.
Pairing Suggestions: What to Serve With Your Tart
- Drinks : Pair with sparkling water, iced tea, or a dessert wine.
- Dessert Platter : Serve alongside dark chocolate truffles or fresh berries.
Troubleshooting: Common Issues & Fixes
- Crust too crumbly? Add 1-2 tsp water to the mixture.
- Filling too tart? Dust with powdered sugar before serving.
- Mousse too runny? Chill longer or add 1 tsp gelatin.
Conclusion: Time to Taste the Magic
This Lemon and Peanut Tart with Vanilla Mousse is proof that desserts can be both healthy and indulgent. With its zingy lemon, nutty crunch, and cloud-like mousse, it’s a crowd-pleaser that’s ready in a flash. So grab those lemons and peanuts—your taste buds will thank you!
FAQs: Your Burning Questions Answered
Q: Can I make this ahead?
A: Absolutely! Prep the crust and filling a day in advance.
Q: Is this recipe kid-friendly?
Yes! Let kids help crush peanuts or decorate with toppings.
Q: How do I make it vegan?
Swap butter for coconut oil, eggs for flax eggs, and use coconut cream for mousse.
Q: Any health benefits?
Peanuts = protein + healthy fats. Lemon = vitamin C. Win-win!
Q: Can I use store-bought crust?
Sure! This recipe is all about flexibility.
Q: How to fix a soggy crust?
Bake it a few minutes longer next time and let it cool completely.
Q: Can I add alcohol?
Yes! Stir 1 tbsp Grand Marnier into the lemon filling for an adult twist.
Q: What if I’m allergic to peanuts?
Swap with almond or sunflower seed butter.
Q: How to make it gluten-free?
Use gluten-free graham crackers or almond flour.
Q: Can I use bottled lemon juice?
Fresh is best, but bottled works in a pinch.
Final Thoughts: Why This Recipe Belongs in Your Rotation
This tart isn’t just a dessert—it’s a conversation starter, a crowd-pleaser, and a testament to how simple ingredients can create something extraordinary. Whether you’re baking for a party or a quiet night in, this recipe promises joy in every bite. So tie on that apron, embrace the zesty crunch, and let your kitchen fill with the aroma of success.

