Introduction: What If Your Favorite Childhood Snack Got a Grown-Up Upgrade?
Remember those gooey, chocolatey rocky road candies you loved as a kid? Now imagine that same chewy, nutty, marshmallow-packed goodness baked into a rich, fudgy brownie. Yes, it’s possible! Enter rocky road brownies —a dessert that’s equal parts nostalgia and indulgence. But wait…can something this delicious really be easy to make? Spoiler alert: It absolutely is. Let’s dive into how you can create this magic in your kitchen.
But first—why rocky road? The original candy was invented during the Great Depression as an affordable luxury, combining simple ingredients like chocolate, nuts, and marshmallows. Today, this treat has evolved into a cult favorite, and when merged with brownies, it becomes a dessert powerhouse. Whether you’re a busy parent, a college student, or a home baker, this recipe is your secret weapon for wow-ing crowds with minimal effort.
Table of Contents
Why These Rocky Road Brownies Are a Game-Changer
Time Commitment: Just 30 minutes of prep + 25 minutes baking = under 1 hour from start to finish!
Difficulty Level: Beginner-friendly (no fancy skills required).
What Makes Them Special:
- Triple texture: Fudgy brownie base + chewy marshmallows + crunchy nuts.
- Customizable: Swap in your favorite mix-ins (hello, peanut butter chips!).
- Perfect for parties: Impress guests without breaking a sweat.
The Science of Satisfaction
Ever wonder why rocky road brownies taste so irresistible? It’s all about texture contrast. The dense, moist brownie contrasts with the airy marshmallows and the crunch of nuts, creating a symphony in every bite. Plus, the combination of dark chocolate and vanilla enhances the flavor profile, making it complex yet comforting.
Health Benefits You Didn’t See Coming
Before you dismiss this as a “guilty pleasure,” consider this: Dark chocolate is packed with antioxidants, nuts provide heart-healthy fats, and marshmallows (in moderation) offer a quick energy boost. With simple swaps like almond flour or coconut sugar, you can even make these brownies keto-friendly or lower in refined sugar.
Essential Ingredients: The Secret to That Rocky Road Magic

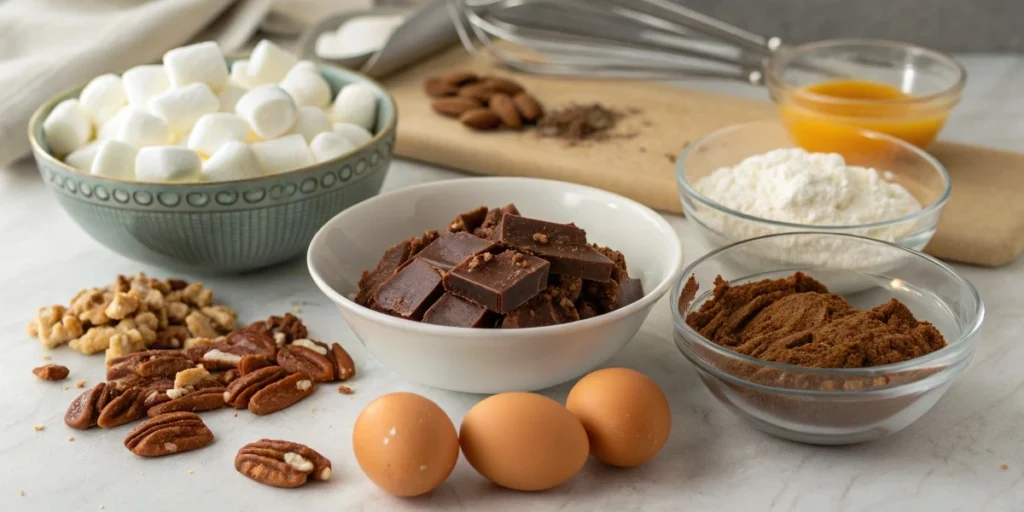
Let’s break down the must-haves and why they matter:
1. Brownie Base: The Foundation of Fudgy Perfection
- Butter & Sugar: Creates that melt-in-your-mouth texture. Use unsalted butter for control over sodium.
- Eggs: Binds everything together for structure. Room-temperature eggs blend smoother.
- Cocoa Powder: The star of the show—use high-quality for maximum flavor. Dutch-processed cocoa gives a deeper taste.
- Vanilla Extract: Adds warmth and depth. Skip imitation vanilla for the real deal.
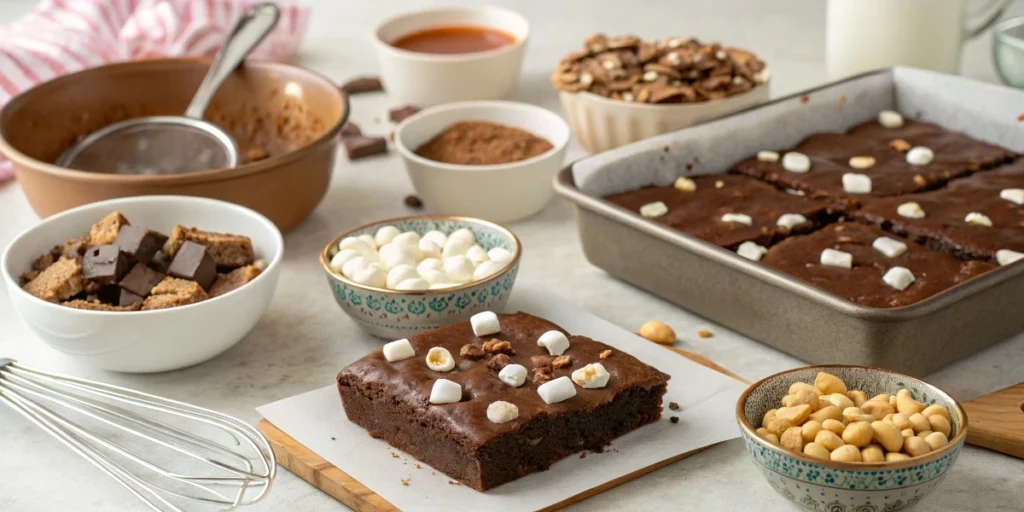
2. Rocky Road Mix-Ins: The Trio of Texture
- Mini Marshmallows: For that classic sticky-sweet bite. Opt for vegan marshmallows if avoiding gelatin.
- Chopped Nuts (Walnuts/Pecans): Adds crunch and balances the sweetness. Toast them first for extra flavor!
- Dark Chocolate Chunks: Because more chocolate is always better. Chop a bar instead of using chips for irregular, melty pockets.
Alternatives & Swaps:
- Gluten-free? Use almond flour or a 1:1 GF blend.
- Vegan? Swap butter for coconut oil and eggs for flax eggs.
- Nut allergy? Try sunflower seeds or skip nuts entirely.
- Low-sugar? Use monk fruit sweetener or erythritol.
Ingredient Spotlight: The Role of Salt
Don’t skip the salt! A pinch enhances chocolate’s natural bitterness and balances sweetness. Use flaky sea salt for a finishing touch—it’s a game-changer.
Step-by-Step Instructions: Rocky road brownies

Prep Time: 10 minutes | Bake Time: 25 minutes | Serves: 12
- Preheat Oven: 350°F (175°C). Line an 8×8-inch pan with parchment paper.
- Mix Dry Ingredients: Whisk 1 cup flour, ¾ cup cocoa powder, 1 tsp salt.
- Combine Wet Ingredients: Melt ½ cup butter, then mix with 1 cup sugar, 2 eggs, and 1 tsp vanilla.
- Merge Both: Stir dry into wet until just combined . Don’t overmix!
- Fold In Mix-Ins: Gently add ½ cup nuts, ½ cup chocolate chunks, and ½ cup marshmallows.
- Bake: Spread batter in the pan. Top with extra marshmallows and nuts. Bake 25 minutes.
- Cool: Let rest 15 minutes before slicing.
Pro Tips for Success
- Room Temperature Ingredients: Cold eggs or butter can cause the batter to seize.
- Don’t Overbake: The toothpick should come out with a few moist crumbs, not clean.
- Pan Prep: Parchment paper prevents sticking and makes cleanup a breeze.
- Layering: Add ½ the marshmallows to the batter, then press the rest on top for maximum gooeyness.
Troubleshooting Common Issues
- Dry Brownies? You baked them too long. Reduce time by 2-3 minutes next batch.
- Soggy Middle? Oven temperature might be off. Use an oven thermometer for accuracy.
- Sticking to the Knife? Dip your knife in warm water before slicing for clean cuts.
Assembly: How to Layer Like a Dessert Artist
- Base Layer: Spread ⅔ of the batter evenly in the pan. Use an offset spatula for smooth edges.
- Rocky Road Layer: Sprinkle marshmallows, nuts, and chocolate on top. Press lightly into the batter.
- Final Touch: Dollop remaining batter over the mix-ins and swirl with a knife.
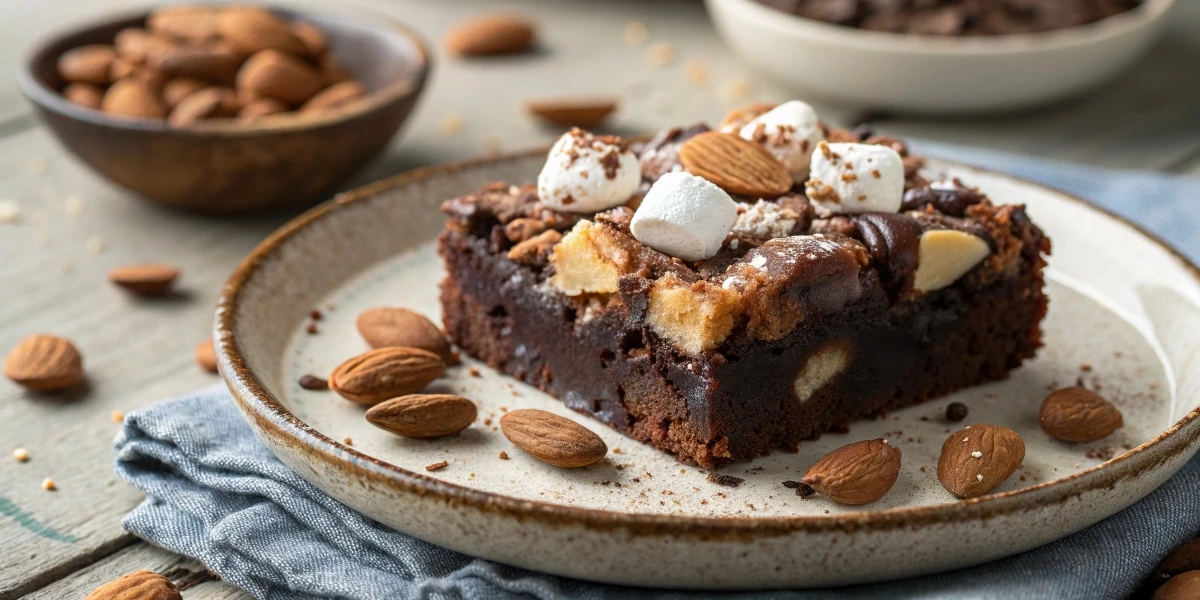
Presentation Hack: Dust with powdered sugar or drizzle melted chocolate for Insta-worthy pics.
Creative Assembly Ideas
- S’mores Style: Layer graham cracker crumbs between batter and toppings.
- Mint Chocolate: Add a drop of peppermint extract to the batter and top with crushed candy canes.
- PB Lover’s: Swirl peanut butter into the batter before adding mix-ins.
Storage & Reheating: Keep Them Fresh
- Room Temp: Store in an airtight container for up to 3 days. Add a slice of bread to keep them moist!
- Fridge: Lasts 1 week (perfect for meal prepping desserts!).
- Freeze: Wrap individual slices in foil for up to 3 months.
- Reheat: Microwave for 10 seconds for that just-baked gooeyness.
Reviving Stale Brownies
If your brownies lose their fudgy texture, sprinkle a few drops of water on top and microwave for 10 seconds. The steam will bring back moisture.
Recipe Variations: Get Creative
- Mint Chocolate Lover: Add ¼ tsp peppermint extract and green food coloring.
- Peanut Butter Swirl: Drizzle ½ cup melted peanut butter over the batter before baking.
- S’mores Edition: Add graham cracker crumbs and extra marshmallows.
- Dairy-Free Delight: Use vegan chocolate and marshmallows.
- Spicy Twist: Add a pinch of cayenne pepper to the batter for a kick.
Seasonal Specials
- Halloween: Use orange food coloring and candy eyeballs.
- Christmas: Top with red and green sprinkles.
- Valentine’s Day: Shape into hearts and add raspberry drizzle.
Conclusion: Your New Favorite Dessert Awaits
These rocky road brownies are more than a treat—they’re a hug for your taste buds. With their quick prep, endless customization, and that unbeatable texture combo, they’re perfect for busy weeknights or weekend celebrations. Ready to rock your kitchen? Grab your mixing bowl and let’s get baking!
FAQs: Everything You Need to Know
Q: Can I use store-bought brownie mix?
A: Absolutely! Just stir in 1 cup marshmallows, ½ cup nuts, and ½ cup chocolate chunks before baking.
Q: Are these healthier than regular brownies?
A: You can make them healthier! Use dark chocolate (antioxidants!), walnuts (omega-3s!), and reduce sugar by ¼ cup.
Q: Can I add other mix-ins like pretzels?
A: Yes! Salty pretzels add a delicious crunch. Fold in ½ cup broken pretzels with the other mix-ins.
Q: How do I make them extra fudgy?
A: Add ½ cup chocolate chips to the batter and bake 2-3 minutes less than instructed.
Q: Can I prep the batter ahead?
A: Yep! Store unbaked batter in the fridge for up to 24 hours. Bring to room temp before baking.
Q: Help! My brownies are too cakey. What went wrong?
A: Overmixing the batter or adding too much flour can cause cakiness. Measure flour by spooning into the cup, then level it off.
Q: Can I use a 9×13 pan?
A: Yes! Reduce bake time to 20-22 minutes and keep an eye on them.

