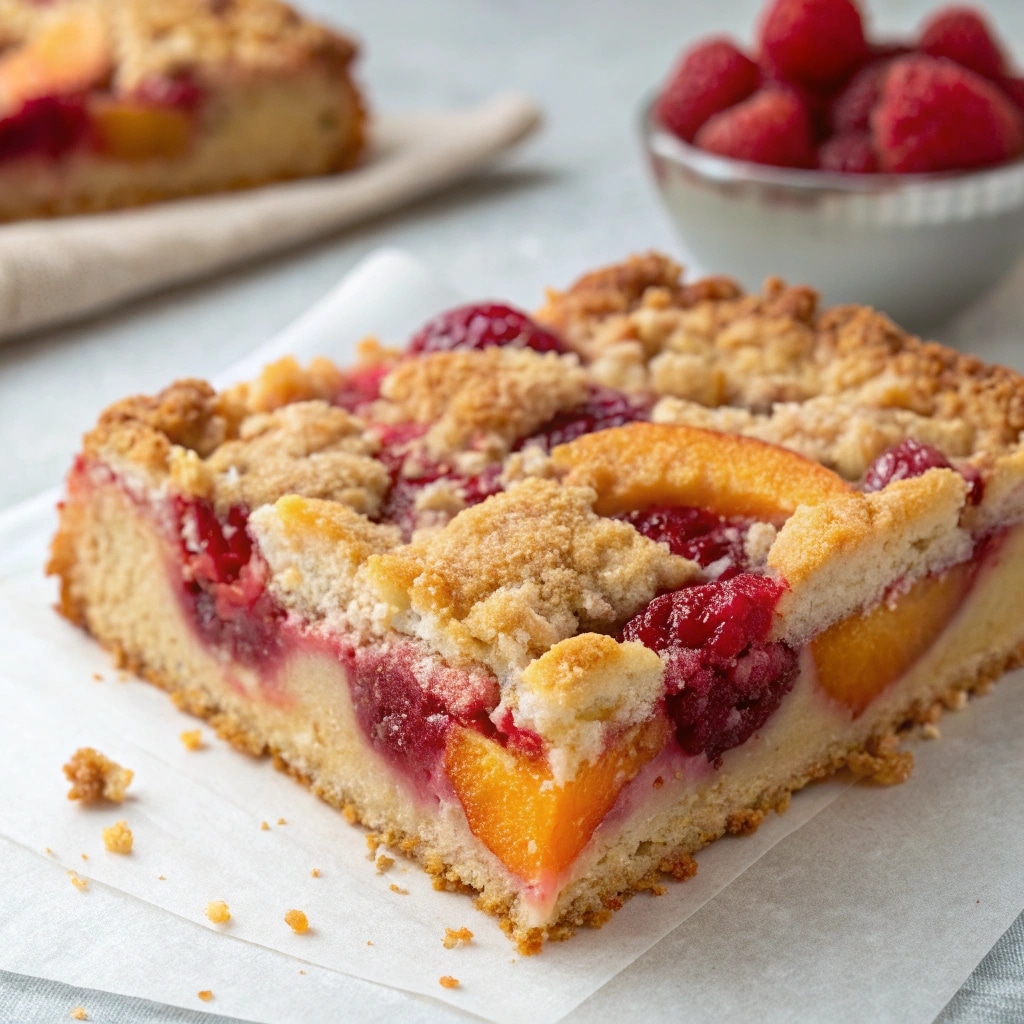
Delicious Layered Dessert for Every Occasion
Trifle—have you ever wondered what makes this dessert so irresistible? With its beautiful layers of cake, custard, fruit, and whipped cream, it’s a treat that looks as amazing as it tastes. But how does it manage to be both indulgent and light at the same time? Whether you’re already a trifle lover or you’re just hearing about it, you might be surprised to learn that this layered dessert has a lot more to offer than just good looks and great flavor. In this guide, we’ll walk you through everything you need to know to make the perfect trifle—from its rich history to a step-by-step recipe and fun variations.
Table of Contents
What Makes Trifle So Special?
When you think of a trifle, you probably picture a large glass bowl filled with beautifully layered cake, fruit, custard, and whipped cream. But what makes this dessert stand out is not just its delicious flavors or impressive appearance—it’s the versatility and simplicity that make it perfect for almost any occasion.
Time and Difficulty
A traditional trifle is easy to prepare, but the assembly takes a little time. You can make it in advance, which is always a win when hosting a dinner party or family gathering. The preparation of each component (cake, custard, whipped cream, and fruit) will take about 30–45 minutes, and then the dessert needs to chill in the fridge for a few hours to allow the flavors to meld. Trifle is not only quick to assemble but it also gets better as it sits, so it’s the perfect make-ahead dessert.
- Difficulty level: Easy
- Time to prepare: 30–45 minutes
- Chill time: 3–4 hours or overnight
Essential Ingredients for the Perfect Trifle

The beauty of trifle lies in the simplicity of its ingredients, but the magic happens when you layer them just right. Let’s take a look at the key elements that make up this classic dessert.
1. Cake (Sponge or Pound Cake)
The cake is the base of the trifle and can be made from scratch or store-bought. A light sponge cake is traditional, but a rich pound cake or even ladyfingers can be used. The cake needs to absorb the flavors of the other ingredients, so it’s often soaked in something flavorful like fruit juice, sherry, or even a bit of liqueur.
- Alternatives: You can use gluten-free cakes or cookies (like biscotti) for a different texture.
2. Custard (Vanilla)
The creamy custard is a trifle’s signature layer. Homemade custard adds a lovely richness, but store-bought custard works well for a quicker version. The custard should be smooth, velvety, and sweet, with just the right balance of vanilla flavor. The custard’s texture is what ties everything together and gives each bite a creamy finish.
- Alternatives: You can use pudding or even Greek yogurt for a healthier alternative.
3. Whipped Cream
A light and fluffy layer of whipped cream adds the finishing touch to the trifle. The cream can be sweetened slightly and flavored with vanilla, but it’s the texture that makes it the perfect contrast to the denser cake and custard.
- Alternatives: Coconut cream or dairy-free whipped cream is a good choice for vegans or lactose intolerant guests.
4. Fresh Fruit
The fruit layer adds color, freshness, and tang. Common choices are berries like strawberries, raspberries, and blueberries, but tropical fruits like kiwi, mango, and pineapple are also great options.
- Alternatives: If fresh fruit isn’t available, frozen fruit can be used, though it may release more juice.
5. Sherry or Juice (Optional)
Many traditional trifles are soaked with a bit of sherry or fruit juice to infuse the cake with moisture and flavor. If you prefer a non-alcoholic version, fruit juices like orange or apple work wonderfully.
Step-by-Step Instructions for Making Trifle
Making trifle is relatively simple, but a few tips can elevate your dessert game. Here’s how you can prepare it from start to finish.
1. Prepare the Cake
If you’re making your cake from scratch, start by baking it and allowing it to cool completely. Slice it into even layers (about 1/2 inch thick), and soak each slice lightly in your chosen liquid—sherry, juice, or a mix of both.
- Tip: Don’t soak the cake too much, as it can become soggy. A light soak is all you need.
2. Make the Custard
To make homemade custard, gently heat milk or cream with sugar and vanilla in a saucepan until it’s warm. In a separate bowl, whisk eggs with cornstarch, and then slowly pour the warm milk into the egg mixture while whisking constantly. Return the mixture to the pan and cook until it thickens. Cool completely before using it in the trifle.
- Tip: You can use store-bought custard if you’re short on time or prefer a quicker option.
3. Whip the Cream
In a mixing bowl, beat the heavy cream with a little sugar and vanilla extract until it forms soft peaks. Be careful not to overbeat the cream; it should be airy and smooth, not stiff.
- Tip: Chill your mixing bowl and beaters in the freezer before whipping for extra fluffy results.
4. Prepare the Fruit
Wash and slice your fruit. For berries, you can leave them whole or cut them in half. If using larger fruits like peaches or pineapple, chop them into bite-sized pieces.
- Tip: For an extra touch of sweetness, toss the fruit in a little sugar before assembling.
Assembling the Trifle

Now comes the fun part—layering your trifle! Here’s how to put it all together.
1. Start with Cake
Begin by placing a layer of soaked cake at the bottom of your trifle dish. Make sure it covers the entire bottom.
2. Add Custard
Spoon a generous layer of custard over the cake, smoothing it out with a spatula.
3. Layer the Fruit
Next, add a layer of fruit on top of the custard, making sure to distribute it evenly.
4. Top with Whipped Cream
Finish with a layer of fluffy whipped cream. Spread it out evenly and try to make it look smooth and creamy on top.
5. Repeat Layers
Continue layering until you’ve used up your ingredients, ending with whipped cream on top.
- Tip: For a beautiful presentation, decorate the top layer with extra fruit or a sprinkle of grated chocolate or crushed nuts.
Storage and Make-Ahead Tips
A trifle is a great make-ahead dessert. In fact, letting it sit for a few hours (or even overnight) in the fridge allows the flavors to meld and the cake to soak up the custard and fruit juices, making it even more delicious.
- Storage: Cover your trifle with plastic wrap or a lid and refrigerate it until ready to serve. It can be stored for up to 2 days, but the fruit may release juices the longer it sits.
- Reheating: There’s no need to reheat a trifle—it’s meant to be served chilled. Just give it a good stir if needed before serving.
Recipe Variations
While the classic trifle is always a hit, there are plenty of ways to mix it up and add your personal twist. Here are a few variations you might want to try:
- Chocolate Trifle: Layer chocolate cake, chocolate pudding, whipped cream, and berries for a rich, decadent dessert.
- Tropical Trifle: Use tropical fruits like pineapple, mango, and coconut cake for a sunny, exotic twist.
- Vegan Trifle: Make a dairy-free version by using coconut cream, dairy-free cake, and vegan custard.
Conclusion: Time to Try Your Own Trifle!
A trifle is more than just a dessert—it’s a fun, festive dish that brings people together. Whether you’re preparing it for a special occasion or simply as a treat for family and friends, this layered dessert is always a crowd-pleaser. So, don’t be afraid to experiment with flavors, colors, and textures to create your perfect trifle!
Ready to try it out? Get started today and enjoy every spoonful of this delicious dessert!
FAQs About Trifle
Can I use store-bought cake for trifle?
Yes! Store-bought sponge cake or pound cake works perfectly fine in a trifle, saving you time without sacrificing flavor.
How long should I let the trifle chill?
For the best flavor, let the trifle chill in the fridge for at least 3-4 hours. If you have time, letting it sit overnight will help the flavors meld even better.
Can I make a trifle with no alcohol?
Absolutely! Simply replace the alcohol with fruit juice or flavored syrups. Orange juice, raspberry juice, or even a splash of vanilla extract are great choices.
Now you have everything you need to create your own trifle masterpiece. Enjoy the process, have fun with it, and don’t forget to share with loved ones. Happy baking.