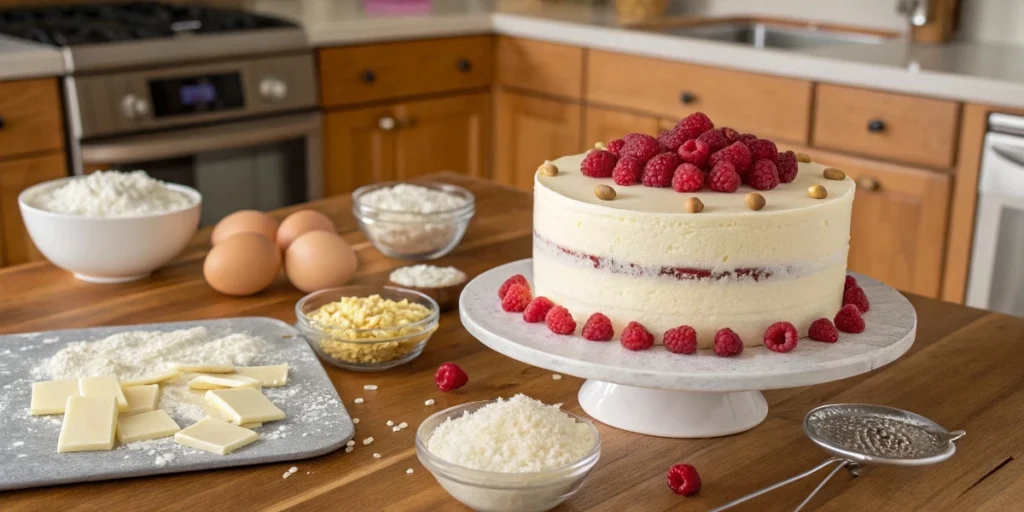
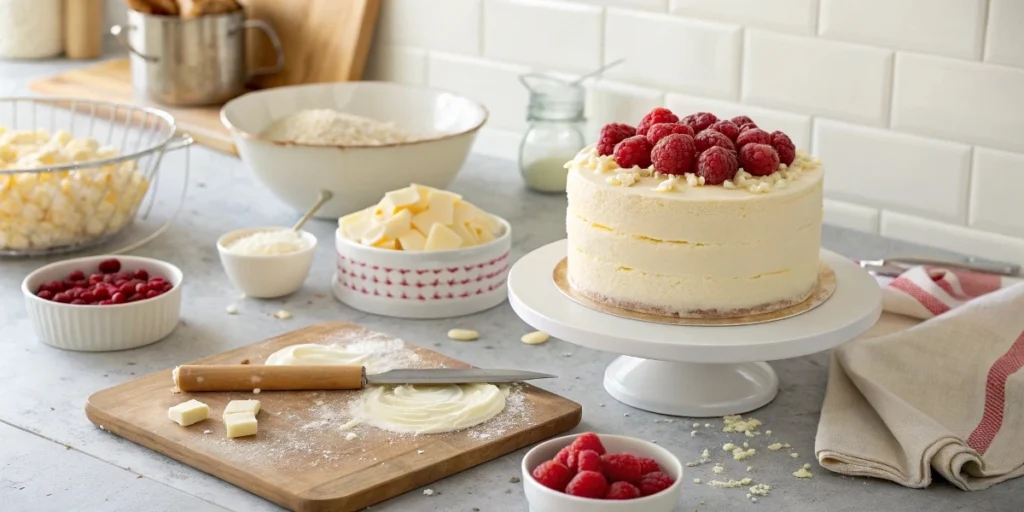
Have you ever wondered if a dessert could be rich yet light, indulgent yet refreshing? Enter the world of White Chocolate Raspberry Cake , where sweet meets tart in perfect harmony. This cake isn’t just another dessert—it’s an experience that will leave your taste buds dancing with joy. Whether you’re celebrating a special occasion or simply craving something extraordinary, this recipe is here to impress. So, grab your apron, and let’s dive into the delicious details.
Table of Contents
Why This White Chocolate Raspberry Cake Is Special
What sets this cake apart from others is its unique combination of flavors and textures. The creamy sweetness of white chocolate pairs beautifully with the tangy burst of fresh raspberries, creating a balance that feels both luxurious and comforting. Plus, it’s easier to make than you might think.
A Dessert That Stands Out
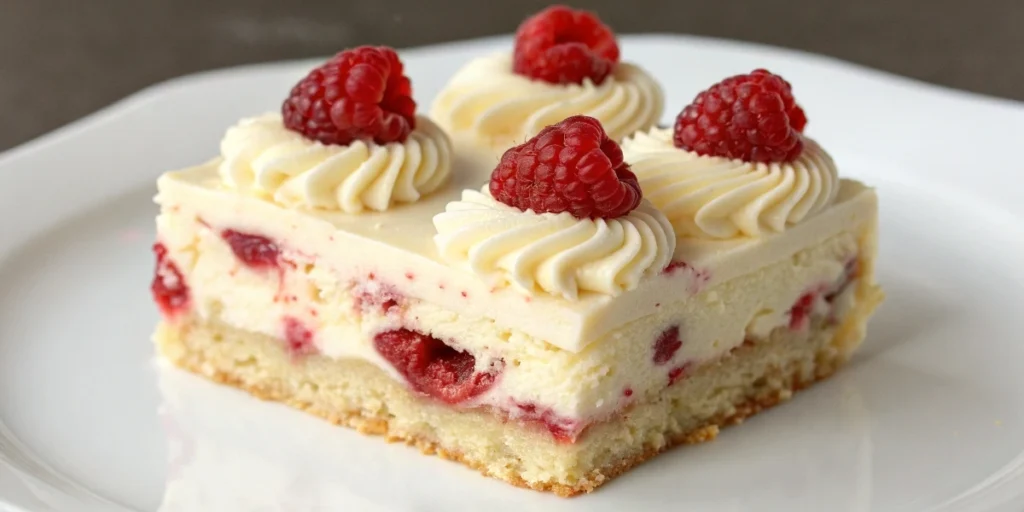
In a sea of chocolate cakes and vanilla cupcakes, the White Chocolate Raspberry Cake stands out like a shining star. It’s not just about the taste; it’s also about how this cake makes you feel. Imagine slicing into a soft, fluffy layer of cake only to discover pockets of melted white chocolate mingling with juicy raspberries. Each bite is a symphony of flavors—rich, fruity, creamy, and utterly satisfying.
Time Requirements: Quick Enough for Any Occasion
One of the best things about this cake is how approachable it is. From prep to plate, this cake takes about 1 hour and 30 minutes , including baking and cooling time. Yes, there’s some waiting involved (cakes need to cool before frosting), but trust us—it’s worth it. And don’t worry if you’re short on time; we’ll share tips later on how to speed up the process without sacrificing quality.
Difficulty Level: Beginner-Friendly Baking
If you’ve ever hesitated to bake because you thought it was too complicated, fear no more! This recipe is designed with beginners in mind. If you can whisk, fold, and layer, you’ve got this! There’s no fancy equipment required—just basic kitchen tools like bowls, a mixer, and measuring cups. Even kids can help with tasks like stirring batter or arranging raspberries on top.
Perfect For Every Moment
Whether you’re hosting a birthday party, surprising someone with a homemade treat, or simply treating yourself after a long day, this cake fits the bill. Its elegant appearance makes it ideal for formal gatherings, but its comforting flavor ensures it feels right at home during casual family dinners too.
Essential Ingredients for Your White Chocolate Raspberry Cake
Let’s talk about the stars of the show: the ingredients. Each one plays a crucial role in making this cake unforgettable. Here’s what you’ll need and why these components are so important:

1. White Chocolate
- Why It Matters : White chocolate adds a velvety smoothness and subtle sweetness that complements the sharpness of raspberries. Unlike dark chocolate, which has a bold bitterness, white chocolate brings a gentler sweetness that enhances rather than competes with other flavors.
- Alternatives : You can use milk chocolate for a richer flavor, but keep in mind it may overpower the berries. Alternatively, try using white chocolate chips instead of bars for convenience.
- Pro Tip : Look for high-quality white chocolate with cocoa butter listed as an ingredient—it melts better and tastes less artificial.
2. Fresh Raspberries
- Why They Matter : These little gems bring a pop of color and a zesty tartness that cuts through the sweetness of the cake. Their natural juiciness infuses each slice with a burst of freshness.
- Alternatives : Frozen raspberries work too, but thaw them first and pat dry to avoid soggy layers. If raspberries aren’t available, strawberries or blackberries are excellent substitutes.
- Fun Fact : Did you know raspberries are packed with antioxidants? Not only do they taste amazing, but they’re also good for you!
3. Butter and Sugar
- Why They Matter : Butter provides moisture and structure, while sugar enhances sweetness and helps create a tender crumb. Together, they form the backbone of any great cake.
- Alternatives : For a healthier twist, try using unsweetened applesauce instead of some butter, or swap regular sugar for coconut sugar. Just note that substitutions may slightly alter the texture and flavor.
- Baking Tip : Always use room-temperature butter for creaming—it blends more easily and creates a lighter batter.
4. Eggs
- Why They Matter : Eggs act as binders and give the cake its airy texture. Without eggs, your cake would lack structure and rise properly.
- Alternatives : Flax eggs (1 tbsp ground flaxseed + 3 tbsp water per egg) are great for vegan bakers. Silken tofu can also serve as a binding agent, though it won’t provide quite the same lift.
- Did You Know? : Room-temperature eggs incorporate better into batters, so take them out of the fridge ahead of time.
5. Flour
- Why It Matters : All-purpose flour gives the cake its sturdy yet soft base. It strikes the perfect balance between density and fluffiness.
- Alternatives : Gluten-free flour blends work well if you need a gluten-free option. Almond flour can add a nutty flavor, but it will result in a denser cake.
- Tip for Success : Sift your flour before measuring to ensure accuracy and prevent lumps.
6. Cream Cheese Frosting
- Why It Matters : A tangy cream cheese frosting ties everything together, adding depth without being overly sweet. It contrasts beautifully with the sweetness of the cake and the tartness of the berries.
- Alternatives : Whipped ganache made with white chocolate and heavy cream offers a more decadent finish. For a dairy-free option, try coconut whipped cream mixed with powdered sugar.
- Storage Hack : Make the frosting ahead of time and store it in the fridge. Let it come to room temperature before spreading for easier application.
Step-by-Step Instructions for Baking Bliss
Ready to get started? Follow these simple steps to bake your very own White Chocolate Raspberry Cake. We’ll walk you through every stage, offering helpful tips along the way.

Step 1: Preheat and Prep
- Preheat your oven to 350°F (175°C).
- Grease two round cake pans (8-inch diameter works best) and line the bottoms with parchment paper. This prevents sticking and ensures easy removal.
Step 2: Mix the Dry Ingredients
- In a medium-sized bowl, whisk together 2 cups of all-purpose flour, 1½ teaspoons of baking powder, and a pinch of salt. Set aside. Mixing dry ingredients separately ensures even distribution throughout the batter.
Step 3: Cream the Wet Ingredients
- In a large mixing bowl, beat 1 cup of softened butter and 1½ cups of sugar until light and fluffy. Use a hand mixer or stand mixer for best results.
- Add 4 eggs, one at a time, beating well after each addition. Incorporating eggs gradually allows them to emulsify properly.
- Stir in 1 teaspoon of vanilla extract for extra aroma. Vanilla enhances the overall flavor profile, making the cake taste richer.
Step 4: Combine Wet and Dry Ingredients
- Gradually add the dry ingredients to the wet mixture, alternating with 1 cup of whole milk. Start and end with the dry ingredients to maintain structure.
- Mix until just combined—don’t overmix! Overmixing can lead to a dense cake. Stop as soon as the batter looks uniform.
Step 5: Fold in White Chocolate Chips
- Gently fold in 1 cup of chopped white chocolate chips. Folding ensures the chips are evenly distributed without deflating the batter. They’ll melt slightly during baking, creating pockets of gooey goodness.
Step 6: Bake to Perfection
- Divide the batter evenly between the prepared pans. Use a spatula to smooth the tops for even baking.
- Bake for 25–30 minutes, or until a toothpick inserted into the center comes out clean. Rotate the pans halfway through baking for consistent results.
- Let the cakes cool completely before frosting. Cooling prevents the frosting from melting and sliding off.

Cooking Tips
- To prevent sticking, dust your pans with cocoa powder instead of flour for a chocolatey touch.
- Don’t rush the cooling process—warm cakes can cause frosting to melt unevenly.
- For an extra golden crust, brush the tops of the cakes lightly with melted butter before baking.
- Assembling Your Masterpiece
Now comes the fun part: assembling your White Chocolate Raspberry Cake! This step transforms individual components into a stunning, Instagram-worthy creation.
Step 1: Spread the Frosting
- Place one cake layer on a serving plate and spread a generous layer of cream cheese frosting on top. Use an offset spatula for smooth, even coverage.
- Scatter fresh raspberries over the frosting for a burst of color and flavor. Press them gently into the frosting so they stay in place.
Step 2: Stack and Decorate
- Place the second cake layer on top and cover the entire cake with frosting. Smooth the sides and top for a polished look.
- Press additional raspberries along the sides or arrange them artfully on top for a stunning presentation. You can also pipe decorative swirls of frosting around the edges for added flair.
Presentation Tips
- Dust the cake with powdered sugar for a snowy effect.
- Drizzle melted white chocolate over the top for added elegance.
- Garnish with mint leaves for a pop of green and a hint of freshness.
Storage and Make-Ahead Tips
To ensure your cake stays fresh and delicious:
- Storage : Keep the cake in an airtight container in the refrigerator for up to 5 days. Refrigeration helps preserve the frosting and prevents spoilage.
- Reheating : Bring slices to room temperature before serving for optimal texture. Microwaving briefly (about 10 seconds) can restore warmth and soften the frosting.
- Make-Ahead Option : Bake the cake layers ahead of time and freeze them. Thaw overnight in the fridge before frosting. Frosted cakes can also be frozen—just wrap tightly in plastic wrap and aluminum foil.
Recipe Variations to Spark Creativity
Want to put your own spin on this classic? Here are some ideas:
- Add Nuts : Sprinkle chopped almonds or pistachios for crunch.
- Swap Berries : Try blueberries or blackberries for a different fruity twist.
- Go Boozy : Brush the cake layers with raspberry liqueur for a grown-up version.
- Layer Love : Alternate layers of raspberry jam and frosting for extra flavor.
Conclusion: Why You Need to Try This Cake Today
The White Chocolate Raspberry Cake is more than just a dessert—it’s a celebration of flavors, textures, and creativity. With its quick prep time, beginner-friendly steps, and endless possibilities for customization, there’s no reason not to give it a try. Whether you’re baking for loved ones or treating yourself, this cake promises to deliver smiles all around. So, what are you waiting for? Preheat that oven and let the magic begin.
FAQs About White Chocolate Raspberry Cake
Q: Is this cake healthy?
A: While it’s definitely a treat, you can make healthier swaps like using less sugar, opting for whole wheat flour, or adding Greek yogurt for extra protein.
Q: Can I freeze the cake?
A: Absolutely! Wrap individual slices in plastic wrap and store them in the freezer for up to 3 months.
Q: How do I know when the cake is done?
A: Insert a toothpick into the center—if it comes out clean or with a few crumbs, it’s ready.
Q: What makes this cake so versatile?
A: Its balance of sweet and tart flavors means it pairs beautifully with coffee, tea, or even champagne. Plus, you can adapt it for any season by swapping fruits.
There you have it—a complete guide to mastering the art of White Chocolate Raspberry Cake. Happy baking.

